Gear Up and Get Carving
Right Tools Matter
The wrong gouge taught more makers to quit than any difficult design ever did. Choose well from
the start.
Get started
What Every Linocut Maker Needs
Once, a printmaker's toolkit was assembled over years — borrowed tools, gifts from other makers, slow accumulation. Today, a beginner in Australia can gather everything needed for a first print in a single afternoon, at a cost that does not require lengthy justification. The categories below cover every material category that matters, from the block itself to the paper you press it against. We describe what each item does, what to look for when buying, and where beginners most commonly spend money they did not need to spend. The honest truth is that the difference between a satisfying first print and a frustrating one often comes down to two things: a block that accepts a gouge cleanly, and a brayer that rolls ink without dragging. Everything else is refinement.
1
Carving Gouges and Handles for Linocut
Before lithography made image reproduction fast and cheap, every printmaker maintained a set of hand tools with the same care a carpenter gives a chisel. That tradition is worth honouring, because a sharp gouge is still the most important variable in a linocut print. Gouges come in several profiles — V-shaped for fine lines, U-shaped for clearing larger areas, and flat skew tools for edges and corners. A beginner needs at minimum a fine V-gouge and a medium U-gouge to produce a complete print. Sets are widely available from Australian art supply retailers and offer better value than buying individual tools. The handle matters more than most beginners expect: a palm handle allows greater control over short, precise cuts, while a traditional wooden handle suits longer, sweeping strokes across open areas. Avoid sets where the blades are fixed — replaceable blades extend the life of the tool considerably and reduce the cost of ongoing use. Sharpen regularly; a dull gouge requires excessive force and is the most common cause of slipped cuts and minor injuries at the block.
V-gouge for fine lines
U-gouge for clearing areas
Palm handle for control
Replaceable blade sets
2
Linoleum Blocks — Soft-Cut and Traditional Grey
Linoleum began as a flooring material — linseed oil pressed onto jute backing, durable enough for factory floors and Victorian hallways. The same qualities that made it practical underfoot make it excellent for carving: it accepts a gouge in any direction without the grain resistance that woodblock printing demands, and it produces a smooth, consistent impression across a large edition. Two main types are available to Australian hobbyists. Soft-cut linoleum, sometimes sold as vinyl or rubber block, is more forgiving for beginners — the material offers less resistance, which makes early cuts easier to control. Traditional grey linoleum has a firmer surface that rewards sharper tools and more deliberate carving, and it holds fine detail considerably better once the maker has developed their technique. Traditional grey can become brittle in cold conditions; warming the block gently before carving restores its workability. Both types are available in pre-cut sizes from most Australian art supply retailers. Beginners are advised to start with a modest block size — larger blocks amplify both the successes and the errors of early carving sessions.
Soft-cut for beginners
Traditional grey for detail
Available in pre-cut sizes
Warm before carving in cold
3
Block Printing Inks — Oil and Water Based
Before synthetic inks made colour mixing straightforward and consistent,
printmakers ground their own pigments and mixed them with oil by hand. The
chemistry has changed considerably since then, but the fundamental choice has
not: oil-based or water-based ink, and each carries genuine trade-offs worth
understanding before purchase. Water-based block printing ink is the practical
choice for most Australian home makers. It cleans up with water, dries
adequately on paper and fabric, and is widely available from local art supply
retailers at modest prices. It is also more forgiving of inconsistent ink
application, which makes it the natural starting point for a beginner. Oil-based
ink produces a richer, deeper impression and holds its colour across a larger
edition without significant variation between early and late prints. It requires
solvent for clean-up, which adds cost and demands better ventilation. Most
hobbyists begin with water-based ink and move to oil-based only when the quality
of a large edition becomes a priority. Both types are available in black and an
expanding range of colours. Beginners are advised to start with a single colour
— black on white paper — until ink consistency and pressure are well understood.
Water-based for easy clean-up
Oil-based for richer impression
Black ink recommended first
Mix colours once experienced
4
Brayers and Inking Slabs for Even Coverage
The brayer is the most underestimated tool in a beginner's kit. Where the
gouge carves the image, the brayer determines whether that image reaches the
paper cleanly or arrives muddy, patchy, and defeated by uneven ink distribution.
A brayer is a rubber roller mounted on a handle, used to spread ink across a
flat slab before rolling it onto the carved block. The quality of the roller
material matters considerably: a soft rubber brayer distributes ink more evenly
across an irregular surface, while a harder roller suits flat, open designs.
Beginners should look for a brayer with a removable roller for easy cleaning —
dried ink left on a brayer will gradually compromise every subsequent print. The
inking slab can be any smooth, non-porous surface: a glass tile, a ceramic
plate, or a purpose-made acrylic slab all work well. The slab needs to be large
enough to roll out a thin, even layer of ink before it reaches the block. A
well-inked brayer sounds slightly tacky when it lifts from the slab — that
texture is the clearest indicator that the ink consistency is correct. Clean the
brayer and slab immediately after each printing session; dried ink is
considerably harder to remove than fresh.
Soft rubber for even coverage
Removable roller for cleaning
Glass tile as inking slab
Clean immediately after use
5
Printing Paper — Weight, Texture, and Surface
Paper is the final variable in a linocut print, and it is the one beginners most
often underestimate. Before specialist printing papers were widely available,
printmakers worked with whatever smooth surface was at hand — rice paper,
newsprint, cartridge paper from the stationer's shelf. Each surface produced
a different quality of impression, and that range is still available to a
contemporary maker willing to experiment. The most important characteristic is
surface smoothness: a rough or heavily textured paper will not make full contact
with the inked block, producing a broken impression that may read as intentional
texture or may simply look like an error. Cartridge paper of medium weight is
the most practical starting point for beginners — it is inexpensive, widely
available in Australia, and accepts water-based ink without excessive
absorption. Japanese tissue paper produces a delicate, translucent impression
that suits fine-line designs particularly well but tears easily during printing
and requires a lighter touch. Heavier printmaking papers hold ink richly and
suit bold, graphic designs. Fabric — cotton, linen, or canvas — opens a
different range of possibilities and requires textile-specific inks and a
heat-setting step to make the print permanent. Beginners are advised to begin
with medium-weight cartridge paper and experiment with other surfaces only once
ink consistency and printing pressure are reliably controlled.
Cartridge paper for beginners
Japanese tissue for fine lines
Heavy paper for bold designs
Fabric needs textile ink
Block and Ink Comparison
Choosing the Right Materials for Your Practice
Before the first gouge enters the block, the maker has already made several
decisions that will shape the final print. Block type and ink type are the two most
consequential choices a beginner faces. The comparison below sets out what each
option offers and where each falls short, so the decision can be made with clear
expectations rather than marketing assumptions. No single combination suits every
maker — the right choice depends on budget, working environment, and the kind of
prints you intend to make.
Contact us
Soft-Cut Block
$ 19.00 Per type
Forgiving surface ideal for beginners learning gouge control
Beginner-friendly carving
Included
Fine detail retention
Not included
Water-based clean-up
Included
Large edition consistency
Not included
Cold weather workability
Included
Fabric printing suitability
Not included
Recommended starter option
Included
Traditional Grey
$ 49.00 Per type
Firm lino surface for makers ready to carve fine detail
Beginner-friendly carving
Not included
Fine detail retention
Included
Water-based clean-up
Included
Large edition consistency
Included
Cold weather workability
Not included
Fabric printing suitability
Not included
Recommended starter option
Not included
Oil-Based Ink
$ 69.00 Per type
Rich, consistent ink for serious editions and deep colour
Beginner-friendly carving
Included
Fine detail retention
Included
Water-based clean-up
Not included
Large edition consistency
Included
Cold weather workability
Included
Fabric printing suitability
Included
Recommended starter option
Not included
Why Quality Matters
The Difference Proper Tools Make at the Block
Between a frustrating first session and a satisfying one, the gap is usually a sharp gouge and a smooth block — not talent.
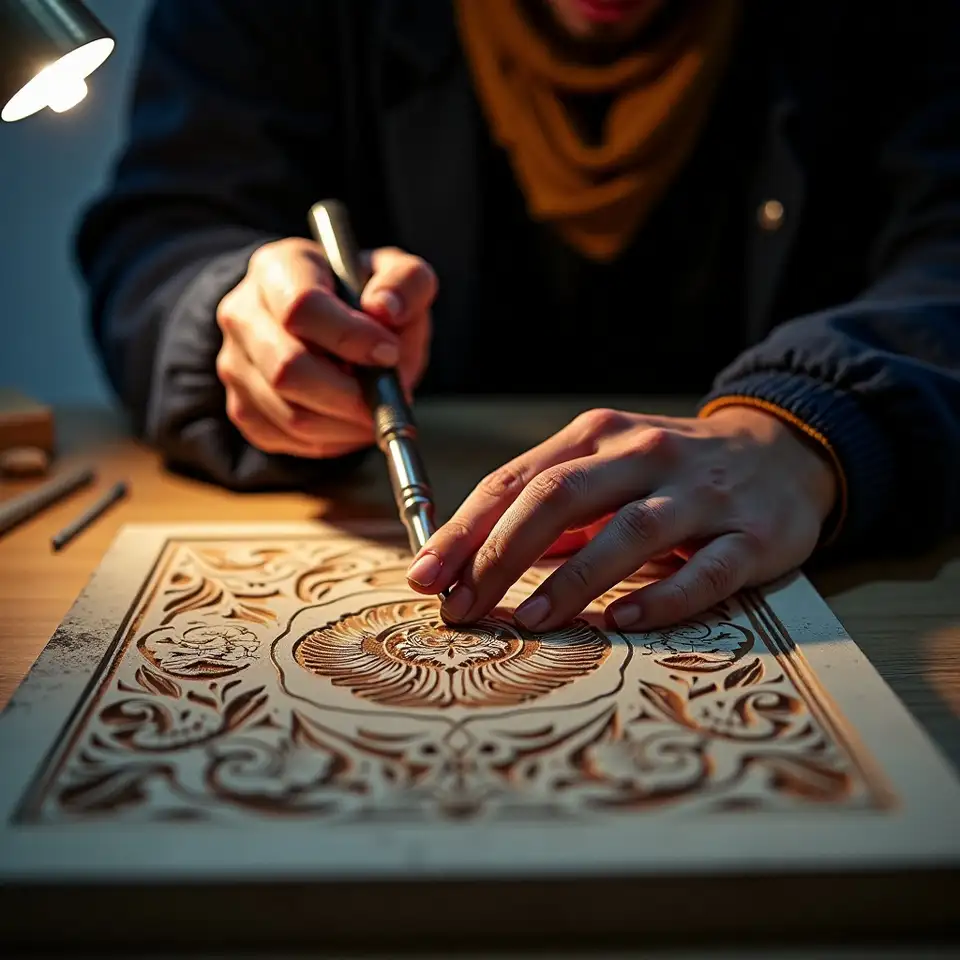
Sharp Gouges Produce Cleaner, Safer Cuts
A sharp tool follows the intended line with minimal force. A dull one demands pressure, wanders off course, and slips unpredictably. The relationship between tool sharpness and print quality is direct, consistent, and worth understanding before the first block is touched.
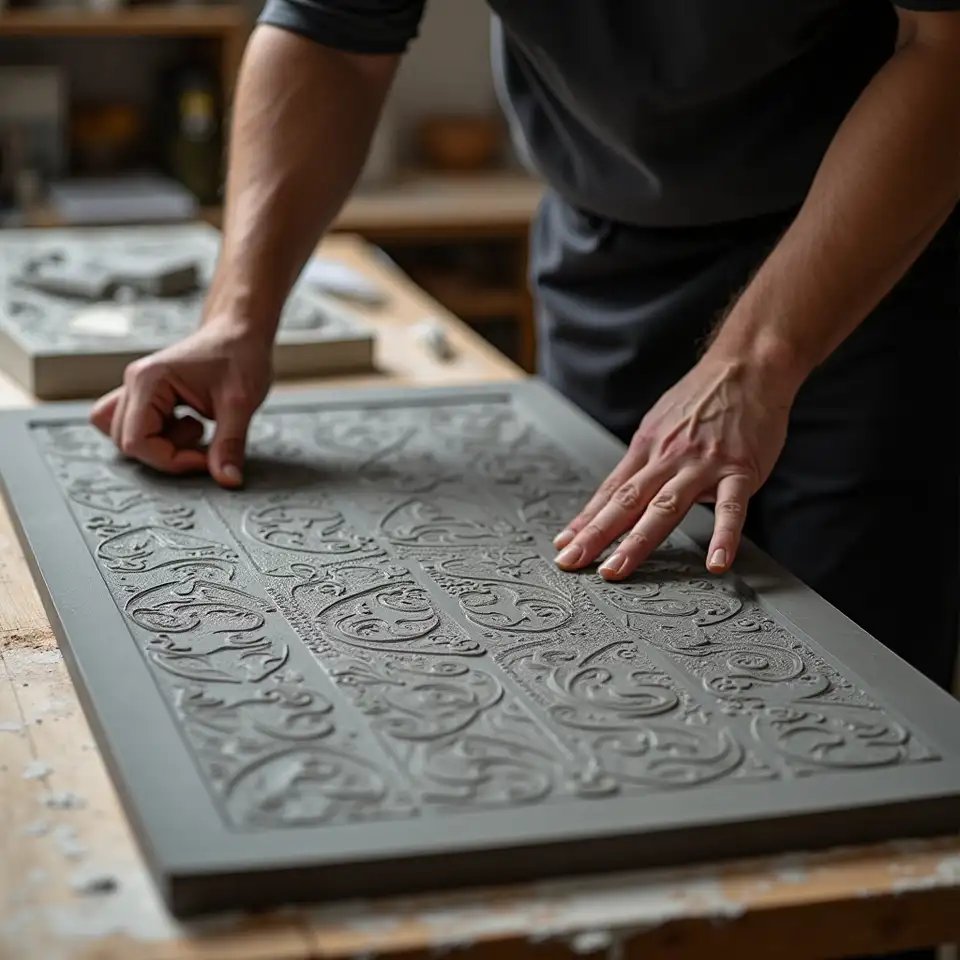
Smooth Linoleum Transfers Ink Without Interruption
A block with a consistent, smooth surface transfers ink evenly to paper across the full area of the design. Rough or uneven linoleum introduces gaps and patches that no amount of careful printing pressure can fully correct. The block is the foundation of every print that follows from it.
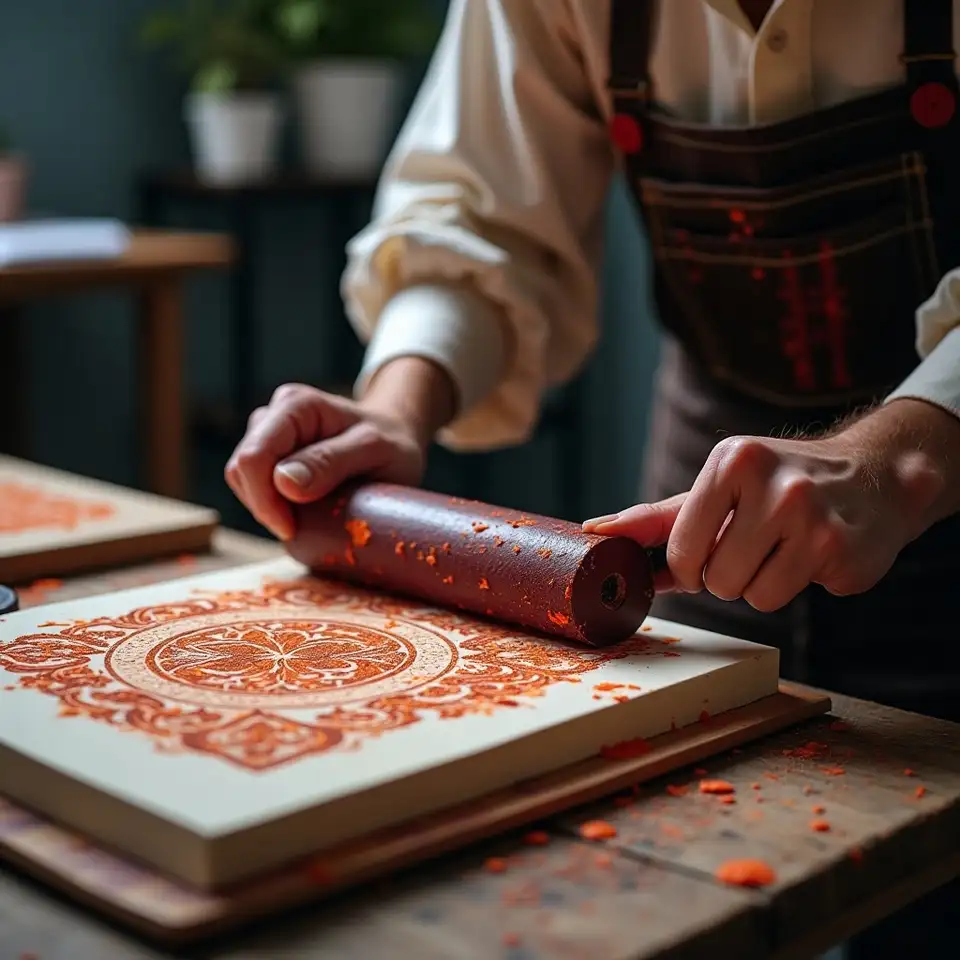
Good Ink Rolls Evenly and Dries Consistently
Ink that is correctly formulated for relief printing behaves predictably under the brayer: it spreads to a thin, even film, adheres to the raised surface of the block, and transfers to paper without bleeding into carved recesses. Cheap or incorrectly mixed ink does none of these things reliably.
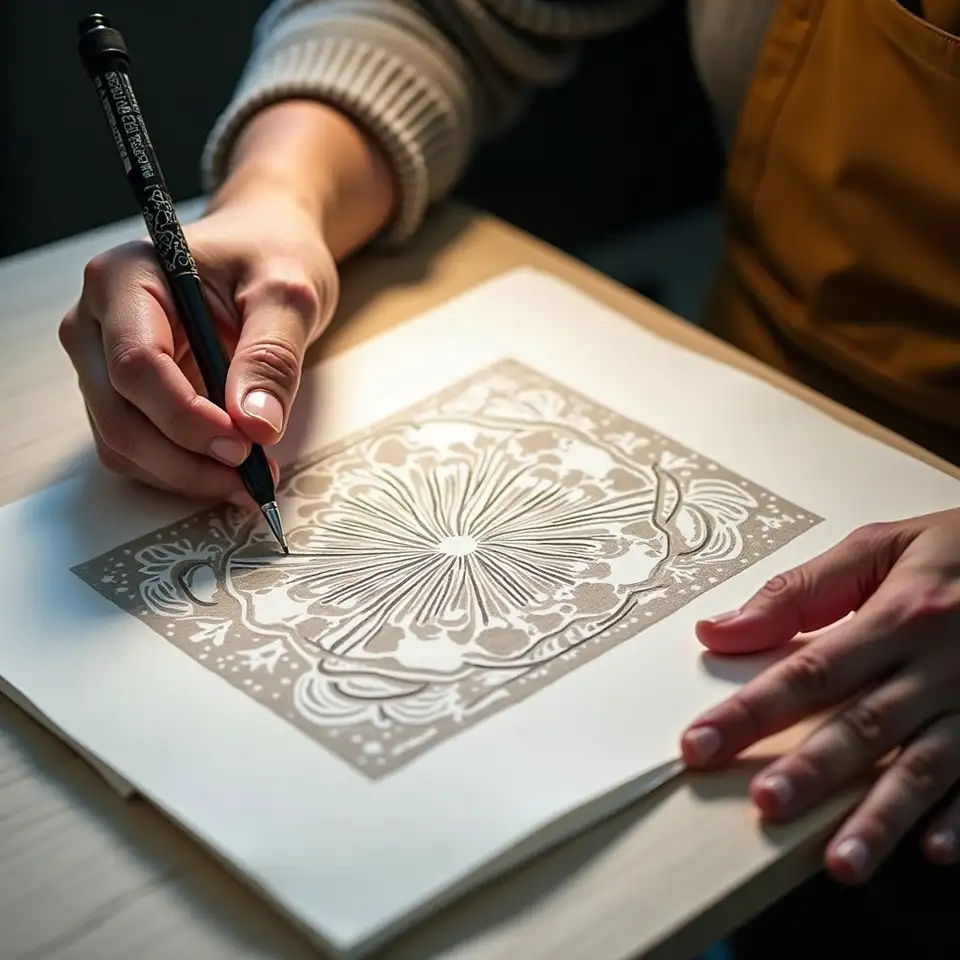
The Right Paper Captures Every Carved Detail
A well-carved block pressed against unsuitable paper loses fine lines, misses textured areas, and produces an impression that flatters neither the design nor the maker's effort. Choosing paper appropriate to the design and the ink type is the final decision in a chain of decisions that determines what the finished print becomes.
Linocut Tools and Materials Glossary
A plain-language reference for the terms that come up most often when buying tools and
materials for the first time as a linocut maker in Australia
Carving Gouge
ToolsA small, handheld cutting tool with a shaped steel blade used to remove material from a linoleum block. Gouges come in several profiles — V-shaped for fine lines, U-shaped for clearing larger areas — and are the primary instrument through which a design is carved into the block surface. The quality of the steel and the sharpness of the blade directly determine the precision and ease of every cut made at the block.
Brayer Roller
ToolsA rubber roller mounted on a handle, used to spread printing ink evenly across an inking slab and then transfer that ink onto the raised surface of a carved block. The hardness of the rubber affects ink distribution: softer rollers conform to slight surface irregularities, while harder rollers suit flat, open designs. Keeping a brayer clean and storing it so the roller does not rest under its own weight prolongs its useful life considerably.
Baren Press Tool
ToolsA flat, disc-shaped burnishing tool held in the palm and pressed against the back of the paper during printing to transfer ink from the block surface to the paper without a mechanical press. Traditional Japanese barens are wrapped in bamboo sheath, while modern versions use synthetic materials. A wooden spoon or clean brayer can serve the same purpose for a beginner on a modest budget.
Soft-Cut Linoleum
MaterialsA formulation of carving block material that offers less resistance to the gouge than traditional grey linoleum, making it more forgiving for beginners who are still developing control over their cuts. Often sold as vinyl or rubber block, soft-cut material accepts a gouge at any angle without the risk of the blade catching or skipping. It holds less fine detail than traditional linoleum and may compress slightly under heavy printing pressure.
Water-Based Ink
MaterialsBlock printing ink formulated with water as its primary solvent, making it suitable for home use where ventilation is limited and easy clean-up is a priority. Water-based inks dry by evaporation and are available in a wide range of colours from Australian art supply retailers. They are less rich in tone than oil-based alternatives and may require more careful ink consistency management to achieve even coverage across a large print edition.
Relief Printing
TechniqueA printmaking method in which ink is applied to the raised surface of a carved or etched block and transferred to paper or fabric by pressing the two surfaces together. Linocut is a form of relief printing, as is woodblock and letterpress. The term relief refers to the fact that the image-carrying surface stands above the carved recesses, which remain unlinked and appear as white space in the finished print.
Reduction Method
TechniqueA multi-colour printing technique in which a single block is progressively carved and printed in successive layers, with each new layer of carving removing areas that were printed in the previous colour. Because carving is irreversible, the final state of the block cannot reproduce any earlier layer, meaning the edition size is fixed from the first print and cannot be extended. The technique was notably developed by Pablo Picasso and remains one of the most technically demanding approaches in linocut printmaking.
Registration Marks
TechniqueReference points added to both the block and the printing paper to ensure that successive print layers align correctly when using a multi-colour or reduction printing technique. Without accurate registration, layers printed at different stages will shift relative to each other, producing blurred or misaligned colour boundaries. Simple registration can be achieved with a corner guide made from card stock; more precise alignment requires a registration jig or frame.
Ghost Print
TechniqueA second impression pulled from a block that has not been re-inked after the first print, producing a lighter, less saturated version of the original image. Ghost prints often reveal details that disappear under full ink coverage and can be used intentionally as a design element in their own right. They are also a useful diagnostic tool, showing the maker where ink coverage was uneven in the primary print and where pressure needs adjustment.
Key Block
TechniqueIn multi-colour linocut printing, the key block is the block that carries the primary outline or dominant design element, typically printed last or first depending on the maker's method. All other colour layers are registered in relation to the key block. The term originates in traditional Japanese woodblock printing, where the outline block was considered the structural key around which all colour blocks were organised and aligned.